Overall I feel that I have learnt a lot from doing this project, but at the same time feel that I have only really scratched the surface of UV mapping. There are a lot of aspects of UV mapping which I haven't looked like organic mapping for example characters. But as this is the first time I have done any type of UV mapping and I feel that I have good basic understanding of the subject. With this I hope to expand and develop my skills further after this project is finished.
Saturday, 8 January 2011

tutorial
Unwrapping in Maya from Thomas Mahler on Vimeo.
This one of the original tutorials I watched before getting the Escape studios tutorials. Though quite helpful, I really needed something that started from the basics upwards.

Barrel of fun

Shotgun practise

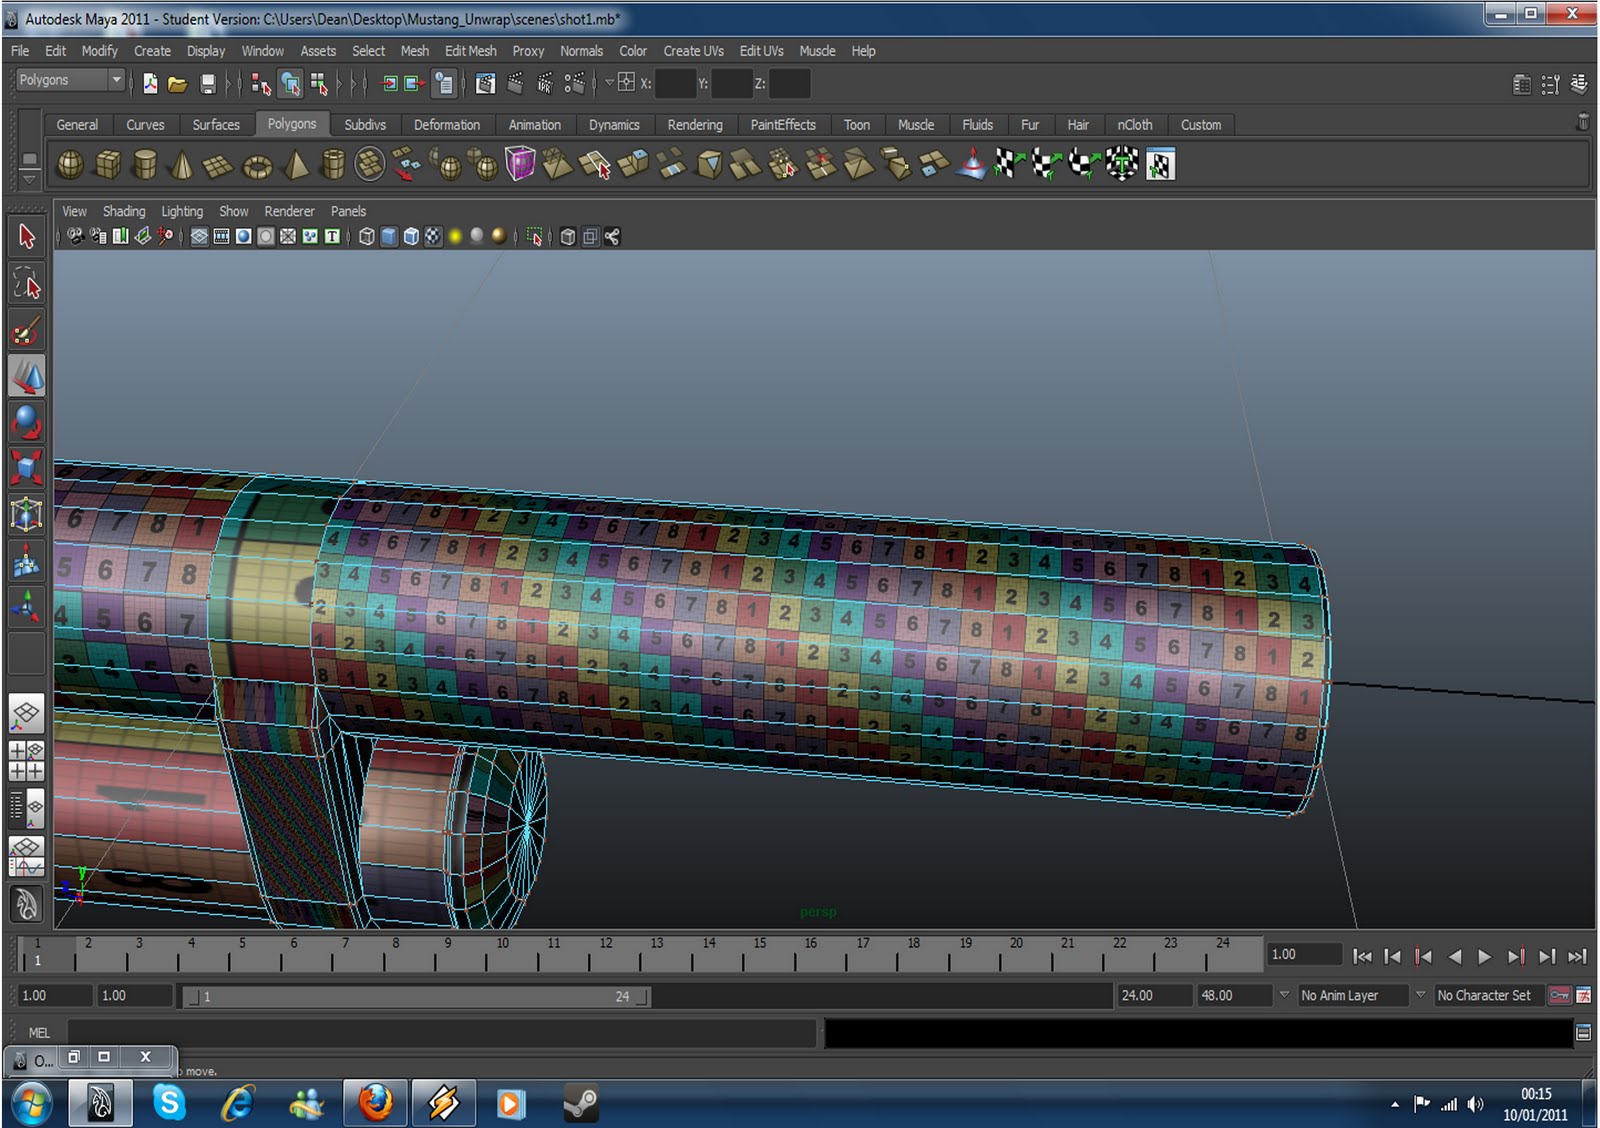
After doing the plane, I thought I needed to challenge myself, though it didn't turn out well. With this in mind, I began to break the shotgun down into sets so I could select certain faces to UV. But while doing this I realised the main bulk of the model was in one piece. This was an issue but way I got round it was by selecting the face individually then setting them into groups.
Wednesday, 5 January 2011
Plane with textures


Experiment with texture size

Here is two more textures that I made but used two different sizes, one is a 256x256 texture and the other is an 1024x1024 texture. I thought it to experiment to firstly know how to make a bigger texture with higher quality and to get an idea of the sheer difference.

UV snapshot
Here is my finished UV snapshot and a quick texture test I did to see how its works. The way I made the UV snapshot was to scale down all of my unfolded pieces but at the same time have all the squares of the UV mapper texture matching up. I learned that you don't have to do that, alternatively it depends on the how sharp you want the texture to be on certain parts of the model. But in the end I matched up all the squares and fitted them into UV box and went to object mode and selected the plane then took a snapshot.


All parts unwrapped

This image shows all the pieces of the plane unwrapped, before I arranged it using the UV layout tool in the UV texture editor. The way I unwrapped the rest of the plane was by mirroring the uv's I had all ready done on both the front and back right wing. The way I did that was by using the transfer attributes under mesh, then selecting the vertices of both of the other wings then transferred it over. Though the first time I did it only some areas transferred over but realized that I had not selected some the vertices on the wing.
Also during the unwrapping of the fuselage I have to cut front faces of it off otherwise it would of unfolded properly and convert them into there own uv's using an z-axis planer mapping.
Sunday, 19 December 2010
Test Render of texture quality

Thursday, 16 December 2010
Wing

Wing unwrap




Wednesday, 15 December 2010
Unwarping Fail


I have never looked into UV mapping and while I was researching I discovered I would have to start from scratch. Lucky enough I was able to find the Escape Studios Maya tutorials. From this I was able to learn the basic tools needed to UV map.
The images above are my attempts at unwrapping a wing of a plane. What I had to do was first was to convert them into UV by using planar mapping under create uv's. As most of the wings face were facing upwards, I used a Y-axis projection of the UV mapper (the coloured squares and numbers). After that I needed to go in the UV editor window and cut the wing so it was ready to unwrap. But when I did this didn't realise that you had to cut the straightish edge to get a better unfold.
my research
I decided to research UV mapping to get better understanding of the production pipeline and also be able to texture my finished models as would know how I have built them. Also in the industry most companies like having people that are able to both model and UV texture.
Subscribe to:
Posts (Atom)